

It’s pumpkin spice season, and I have jumped on the bandwagon. This past weekend my kids wanted to make some rice krispie treats, so I thought it would be fun to jazz them up with a little pumpkin and a little spice. They weren’t too thrilled with the idea at first, but when I offered to buy them some candy corn if the treats turned out to be nasty, they were on board.
There were a few tricks we had to follow to keep the treats from being soggy. And once we added the pumpkin and spice mix to the melted marshmallows, the kitchen smelled like Thanksgiving. We sampled spoonfuls of sticky rice cereal from the pot and sighed. The boys were no longer interested in candy corn.
Let me know when you make this recipe. Take a picture and hashtag it #QUEENCITYKITCHEN. I can’t wait to see what you post!
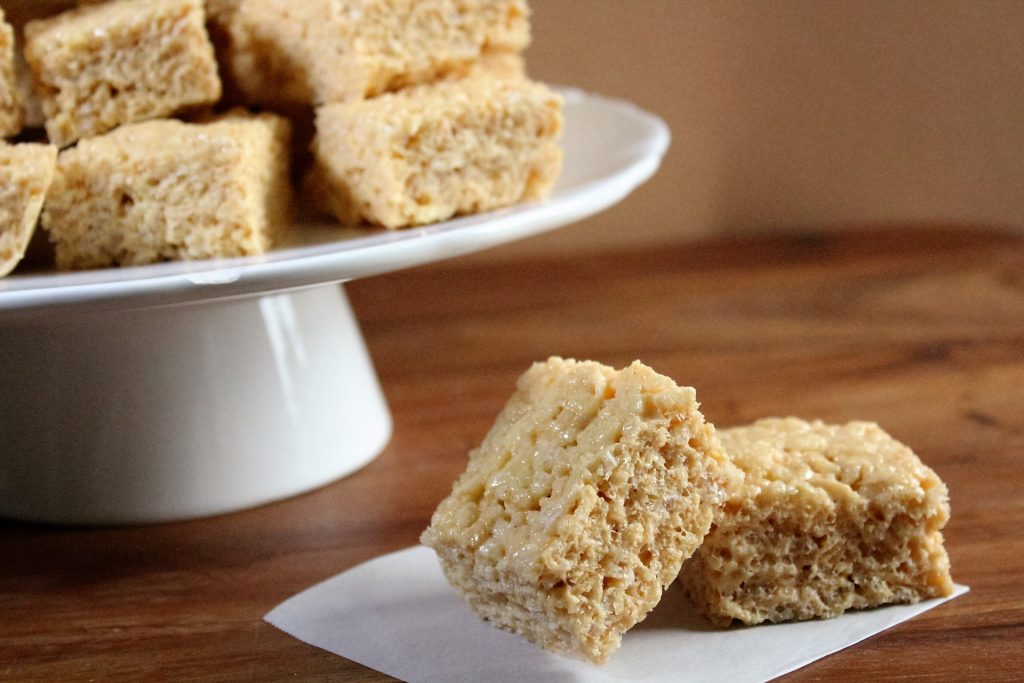
Pumpkin Spice Crispy Rice Treats
Makes 12 servings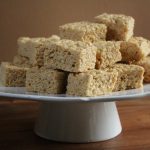
¼ cup canned pumpkin puree
6 tablespoons unsalted butter
6 cups mini marshmallows (about 1½ 10-ounce bags)
½ teaspoon pure vanilla extract
½ teaspoon Queen City Kitchen Baker’s Spice Blend
¼ teaspoon kosher salt
6 cups crispy rice cereal
Spray a 9 by 13-inch baking pan with cooking spray. (Substitute an 8 by 11-inch pan for taller rice treats.)
Place the pumpkin puree on several layers of paper towels for 30 minutes to absorb as much of the moisture in the pumpkin as possible.
Melt the butter in a Dutch oven over medium-low heat. Add 4 cups of marshmallows, stirring frequently until almost completely melted. Stir in the pumpkin puree and continue to cook until it is warmed through. Stir in the vanilla, spice blend and salt. Remove from the heat.
Allow the marshmallow mixture to cool 10 minutes; fold in the remaining 2 cups of marshmallows. Continue to cool the mixture for another 20 to 25 minutes until room temperature to reduce moisture. Use a silicone spatula to stir in the rice cereal until combined.
Press the mixture into the greased baking dish and let set for 1 hour before cutting.